|
This section covers:
Scan multiple pages in a single file
Scan and create multiple files
Preview scanned images
Adjust image quality
Filing documents in single file scanning
Filing documents in multiple files scanning
Scanning a document
| • | From the File menu, select r |
Click on the Scan icon from the toolbar
Single File
To scan multiple pages in a single file
| • | Place the document in the scanner according to scanner instructions. |
| • | Select Single File to scan pages in a single file. |
Multiple Files (batch file scanning)
To scan and create multiple files
| • | Place the document in the scanner according to scanner instructions. |
| • | Select to scan Multiple Files. |
| • | Select the Scanner: You have option to scan using Scanner's interface or use Docsvault's interface. |
| • | Click on Change.. to choose any scanner attached to the workstation. Only devices with a TWAIN driver will be displayed in the Select Source Dialogue. To scan using scanner's interface, select the checkbox next to Scanner's interface. |
| • | Scan Profiles: Select a Scan Profile from the drop down list box. You can use hot key ALT + O to quickly edit the scan setting. To add or edit a scan profile, click on the Add/Edit.. link or Scan Profiles button on the ribbon. |
 Information: Information:
| • | Scan Profiles includes predefined scan settings intended to produce excellent image quality for different scan jobs. For more information, refer Scan Profiles |
| • | Docsvault only recognizes machine-printed characters such as laser-printed or typewritten text. However, it can retain handwritten text, such as a signature, as a graphic. |
|
| • | Click Scan button to scan the document. |
Preview Scanned Images:
As pages are scanned, the pages are displayed in the viewer. You can have better vision of the scanned pages by selecting Page view from the ribbon to view one page at a time, or Thumbnail view to view all the pages at once. In either view, you can use the slider in the bar below ribbon to adjust the magnification of pages.
|
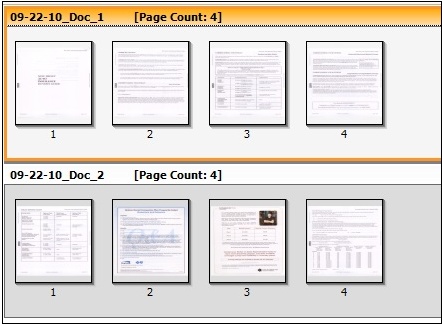
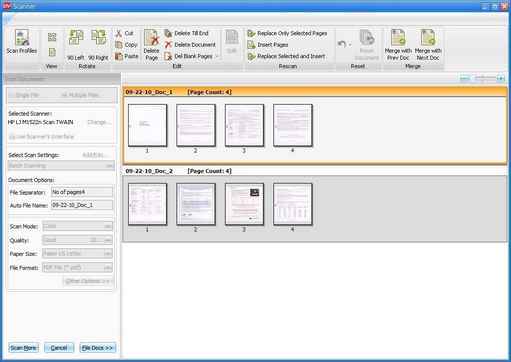
Thumbnail View
|
In the viewer, you can see each page, merge, split, delete or reshuffle the pages, add annotation by highlighting and improve the quality of scanned pages such as despeckle, eraser, crop, brightness, contrast, erode, dilate, etc. before importing the scanned file into Docsvault.
The predefined scan profiles automatically apply the image quality settings. If you decide to adjust pages after scanning, you can use the options from the toolbar. The availability of controls on the ribbon may vary, according to the view (thumbnail or Page view) that is active.
Adjust Image quality
To apply image quality adjustments
| • | Open the page that you want to update in Page View and then |
| • | Click the button associated with the adjustment that you want to make to apply to the image. For more information see Page view ribbon. |
|
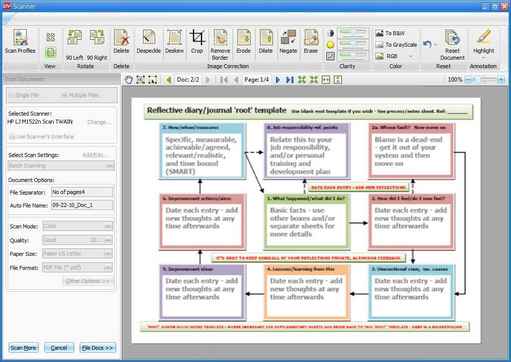
Page View
|
In Thumbnail view, you can select multiple images and apply operations like merge, split, reorder pages, etc. before saving the scanned files. For more information, see Thumbnail view ribbon.
|
Thumbnail View
|
Filing Documents in Single File scanning
| • | Enter a File Name incase the auto file name option is not set in scan profile setting. |
| • | Select the destination where you want to save the scanned document in Docsvault in Save to box. |
| • | Select the Folder Sections under which you want to save the file. For more information see . |
| • | Clicking on Import button will save and import the scan pages in Docsvault. |
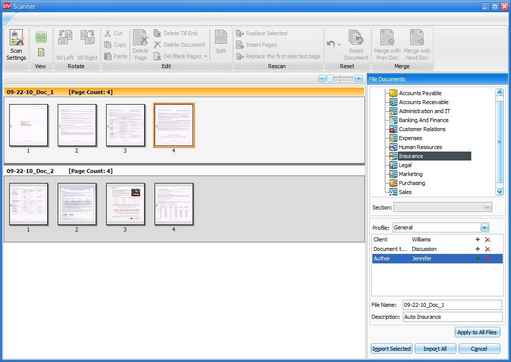
Filing Documents in Multiple Files scanning
| • | Click on File Docs to file the scanned pages. |
| • | Select the pages to file. |
| • | File Documents, select the destination where you want to save the scanned pages from the right side panel. |
| • | Select the Folder Sections under which you want to save the file. For more information see . |
| • | Enter a File Name incase the auto file name option was not set in scan profile setting. |
| • | Apply to All Files, clicking on this button will apply the above setting to all the pages. |
| • | Imported Selected, click on this button to save and import the selected scan pages at the selected location in Docsvault. |
| • | Imported All button will save and import all the pages at the selected location in Docsvault. |
|
Filing scanned documents
|
 Note: Note:
| • | You can save a scanned document in TIFF, PDF, JPG, PNG or BMP format. |
| • | Document quality and the selection of scanning options greatly affect the quality of OCR. |
| • | The OCR process is independent of the scanning process. You can configure Docsvault to OCR the scanned document at the later stage by disabling the OCR service from Tools > Advance Settings. > OCR node. When the OCR service is enabled, it will OCR all the PDF files marked for OCR while scanning and will convert it into searchable files. |
|
 Tip: Tip:
| • | At times, maybe you want to send a scanned image to someone strictly as an image, without converting any text or, maybe you are scanning text-free photographs or artwork. You can unselect the OCR option while scanning. At the later stage, you can apply for OCR to PDF, see Re-OCR PDF file. |
|
Page url:
http://www.docsvault.com/online-help/professional/index.html?scanning_document.html
|


