Designing a form in Docsvault using eForms is very simple. You can create unlimited number of forms in Docsvault.
Administrators and users with system right 'Create Forms' can create and manage forms |
Creating a web form involves three steps;
Step 1: Forms - Create a New Form
•Select Manage eForms option from Administration menu in Docsvault Web Client. This will display list of existing forms.
•To create a new form, click on New Form button
•Give the form a Name, which will display at the top of your form as a title. You can rename your form and its title later on at any time.
•Enter an optional Description
•Select Category: Enter the category for the form from the drop list. If desired category is not listed, you can create one by clicking on the '+' button next to it. Category is similar to grouping the forms, ex: HR forms, AP, Agreements, etc.
•Click on the Submit button to continue.
 |
Step 2: Designer - Customizing the form
Form components may include company logo, labels, field types, etc. You can build your form by adding as many fields as you like. The form designer has a simple drag and drop interface, where you can drag the fields you require and drop them on the canvas to start building your form.
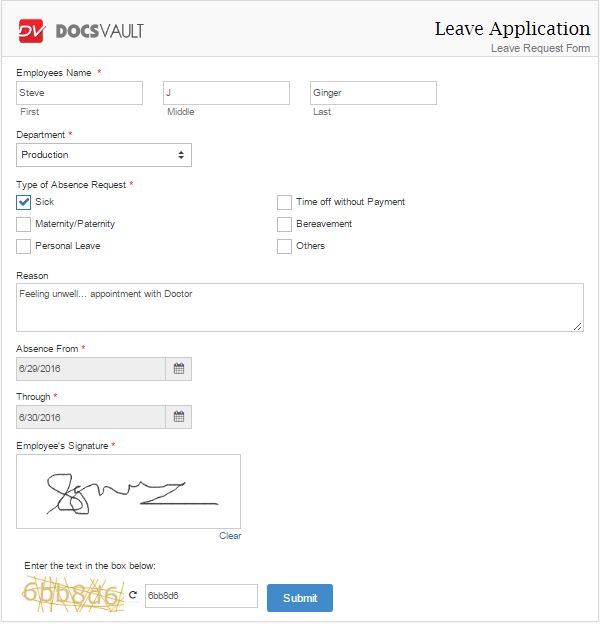
The forms that you create are comprised of the items, or form fields, that you can select from the left panel. They can contain text, drop down choice lists, radio buttons, date, attachments, note, html editor, or pre-formatted elements such as fullname, address, ssn, signature, etc.
Adding Fields
There are two ways to add a field to your form,
•Click and drag a field to drop it into your form at desired location
•Click once on the field and it will be added at the end of the form
Once the fields are added, you can re-arrange them by simply clicking on a field and then dragging it to a new position on your form.
See Form Designer to learn how to design a form and add fields to your form.
Deleting Fields
To delete a field,
•Click once on the field on your form, the field will be highlighted
•Click the 'X' button to delete the field
Preview Form
To preview the form in its current state, click on the Preview button. The form will open in a new tab and now you can test its fields.
Save Form
Once you've built the form, save it by clicking on the Save button. It will display on the forms home page along with the rest of your forms. Here you can edit, share, duplicate, delete and analyze the records submitted for your form.
Step 3: Themes - Stylize your forms
Style and brand your online forms with many default styles or create your own using Theme editor. Use Docsvault' s Theme editor to maintain brand consistency with beautifully designed form themes. No need to mess with HTML or CSS.
Click on Themes to style forms from scratch or go with pre-styled themes.
Step 4: Options - Specify Form Options
Click on Options to customize the form details. Add general details such as form name, landing page where the respondents need to redirect after the form is submitted, assign security, notification details, etc.
Use Share Code to embed Web Form - share and embed the form using various code formats.