Email Setup
To configure your outgoing mail connections and start using the alerts system in Docsvault, follow these steps:
 |
Email Setup |
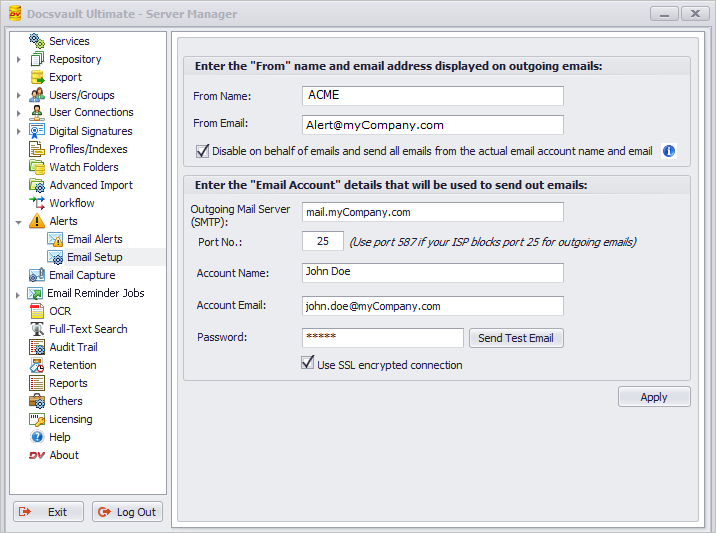
Adding "From" details for Outgoing Emails::
•Access the Docsvault Server Manager and navigate to Alerts > Email Setup. Alternatively, you can set this up from the desktop or web client under the 'Administration' menu.
•Enter the From name and email address that you want to appear in administrative email messages sent by Docsvault. For example, you can use dvAdmin@myCompany.com as the sending email address.
•Enable or disable the 'Disable on behalf of emails' option based on your SMTP server's capabilities and restrictions:
oIf disabled: Docsvault will send emails using the actual email account, but the "from" field will display either the user's email address or the one specified in the "From" section for administrative emails. Note that this feature may be blocked by your email service provider.
oIf enabled: Docsvault will always use the actual Account Name & Email address in the 'From' field of the outgoing email messages.
 |
Adding "Email Account" details to send out emails (SMTP Settings):
Mail Server Type: Docsvault supports classic username/password authentication and modern OAuth2 authentication for Outgoing Mail Connections.
oFor password authentication, choose 'Classic Username and Password'.
oFor Microsoft 365 mailboxes using OAuth2 authentication, choose 'Microsoft 365 (OAuth2)'.
Classic Username and Password
•Outgoing Mail Server (SMTP): Enter the full name of the SMTP mail server provided by your ISP or mail administrator. Often this is in the form of 'mail.yourdomain.com' or 'smtp.yourdomain.com'
•In Port No. box, enter SMTP port number. The default value is 25. However, some ISPs block this port. If this is the case for you, use the alternate port number 587 or the one provided by your ISP
•In Account Name, enter the name you have set for your email account
•In Account Email & Password, type the complete e-mail address and password. Make sure to include your user name, the @ symbol, and the domain name, for example, john.doe@myCompany.com.
•Click on Connect to establish the connection.
•Click Send Test Mail button to verify that your settings are working by confirming that you get a test email to the email address specified for this test
Selecting SSL Encryption (Optional):
•If your ISP supports SSL encrypted connections and you wish to use it, select the SSL encrypted connection checkbox
Saving the Details:
•Click Apply to save the configuration details.
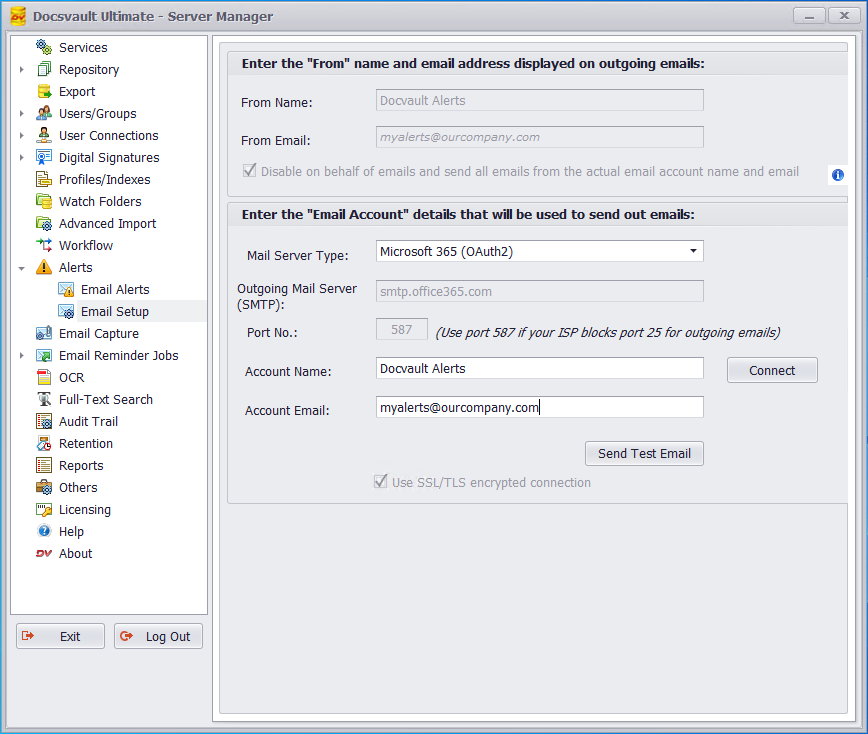
Microsoft 365 (OAuth2)
When using OAuth2 connection protocol, many fields will be locked and set to required values automatically.
•Change the value of Mail Server Type to 'Microsoft 365 (OAuth2)'. This setting is going to use modern authentication to send emails from Microsoft Office 365 email accounts.
•After specifying an Account Name (the name you want to see in outbound emails) and the email address, you must start the authorization process by clicking the Connect button.
•Your default browser will open up and take you through authenticating process for the specified mailbox. Once you see that the authentication was successful close the browser and head back to the email window.
•Once verified, test the settings by sending test email by clicking on the "Sent Test Email" button.
 |
Email Setup using Microsoft 365 (OAuth2) |